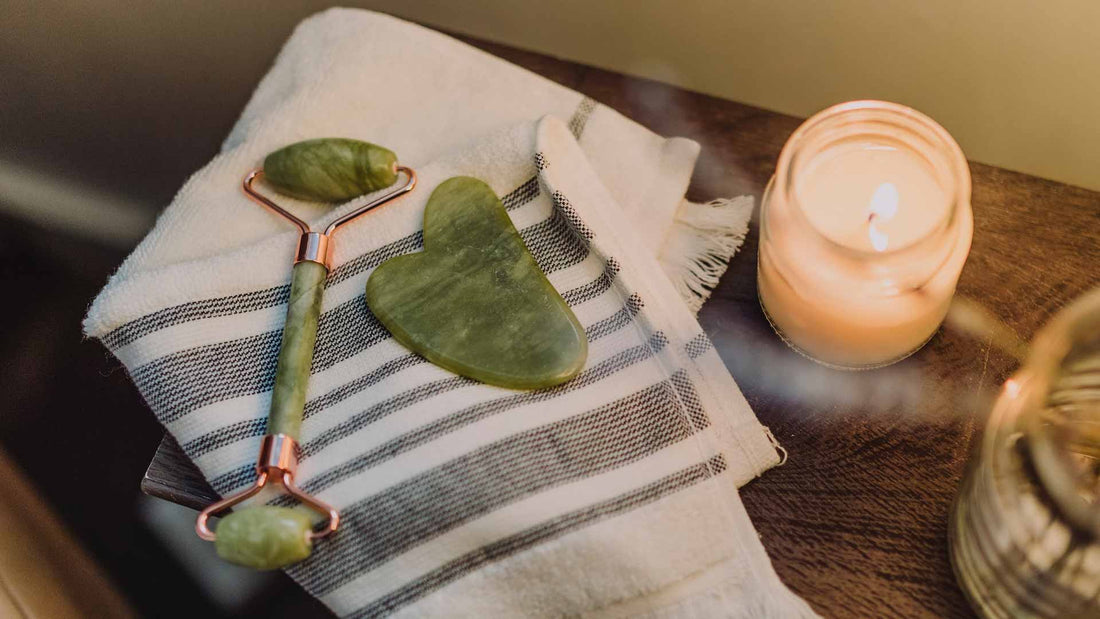
What’s a Facial Roller?

If you’re new to the realm of skincare tools, a facial roller may be the least intimidating and most seen tool around. Often found populating Instagram feeds, facial rollers have been growing in popularity thanks to their ease of use, lower price points and rise in popularity of crystal-infused beauty. But what exactly is it?
Primarily made of jade, facial rollers are tools used to conduct Gua Sha (A traditional Chinese practice using a tool to apply pressure and scrape the skin to relieve pain and tension). While rollers do come in a variety of sizes, shapes and crystals, they provide the same functionality.
What Does a Facial Roller Do?
When used correctly, rollers can:
– Boost blood circulation in the face for a brighter and firmer visage
– Decrease puffiness by aiding the skin’s lymphatic drainage system
– Increase product penetration into the skin
However, as with every trend, rollers have a host of myths and claims attached to them. Rollers cannot:
Stimulate collagen production:
Fibroblasts (the cells responsible for producing collagen and elastin) reside deep in the dermis layer, making them hard to reach and stimulate with a roller. Stimulating fibroblasts to produce collagen can only be done with the use of appropriate medical technology that can penetrate deeply into the skin’s multiple layers.
Treat acne:
While there may be claims that rollers made of crystals (such as Amethyst) can aid in clearing acne thanks to the crystal’s purifying abilities, there is insufficient research to support these claims.
Permanently slim your face:
Though proper use of a facial roller can temporarily provide a firmer visage, rolling your face will not cause it to lose weight.
How to Use Facial Rollers Correctly
To ensure maximum effectiveness when using your facial roller, we recommend following the steps mentioned below. Don’t have your own roller yet? Try Porcelain’s Aventurine Jade Roller!
Before starting the facial massage with your roller, grab your favourite serum or moisturiser and apply a generous layer of the product all over your face and neck. This makes the rolling process smoother and minimises tugging on your skin.

1. Start with the Neck
Place your roller at the top of your neck (right under your ear). Roll down the neck towards the shoulder with gentle pressure. For the best results, roll in one direction instead of back and forth. Repeat this motion six times on each side of the neck.
2. Top of the Neck
With the roller at right behind the ear, move it back and forth on that area six times on each side.
3. Around the Neck
To complete drainage around the neck, place the roller on the base of the neck, just above the collarbone. Roll towards the side of the neck, repeating each stroke six times. Upon completion, gradually move up the neck, repeating the strokes until you have reached the top of the neck.
4. Onto the Face
Start with the roller on your chin. With gentle pressure, move the roller from your chin towards your ear. Similarly, pushing the roller in one direction rather than back and forth will give better results. Repeat this six times. Following your facial contours, repeat this pushing motion as you move up your face.
When rolling the upper cheek, eye area and forehead, push the roller towards the temple rather than the ear. Do note to use light pressure when near the eye area.
5. The Final Drainage
For the final drainage, start with your roller at the middle of your forehead, just above the brow. Push this towards your temple. Continue moving the roller down your face, keeping it near the edge of your face. Once the roller has reached your jaw, move it horizontally and push it towards the back of the ear. From there, gently roll down the neck and finish off at the shoulder.
There you have it – a super relaxing and beneficial facial rolling technique you can use daily for a firmer and brighter visage!

